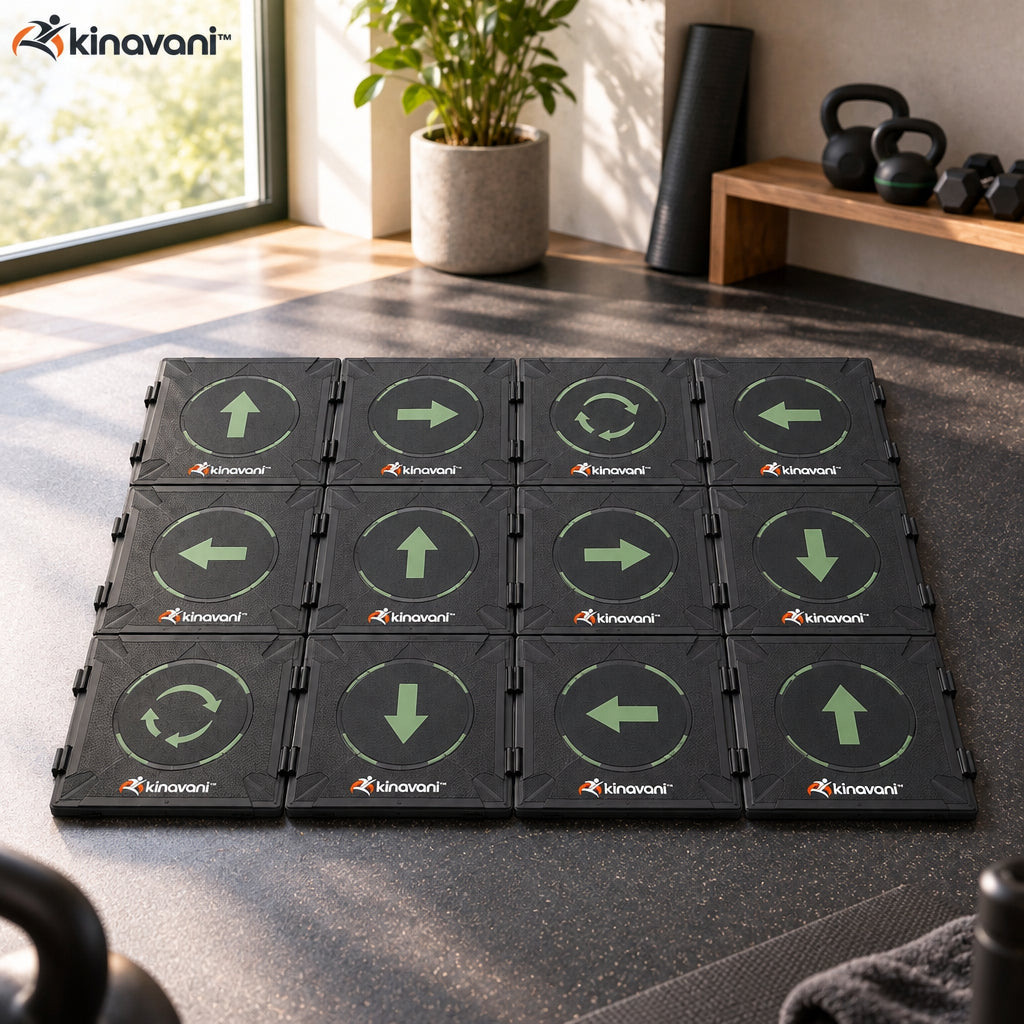
A modular tile arrangement
Connect individual tiles to create the approved layout for your available space. The modular format keeps the route deliberate and allows you to change the pattern between sessions.
kinavani™ — Thoughtful fitness essentials for the way you move.
kinavani™
Couldn't load pickup availability
kinavani™ / Strength Training & Athletic Performance
Build a training path that fits your space.
Give footwork practice a clear visual layout. AgilityFlow Training Grid combines connectable tiles, direction markings and a stackable format, making it easier to arrange a dedicated space for planned coordination and movement drills.
01 / Product overview
Forward, sideways, turn, reset. A visible grid helps turn an open patch of floor into a planned movement sequence. Connect the tiles in an approved arrangement, choose a simple route and build familiarity before increasing the pace. The modular format lets you adapt the layout to the room and the session.

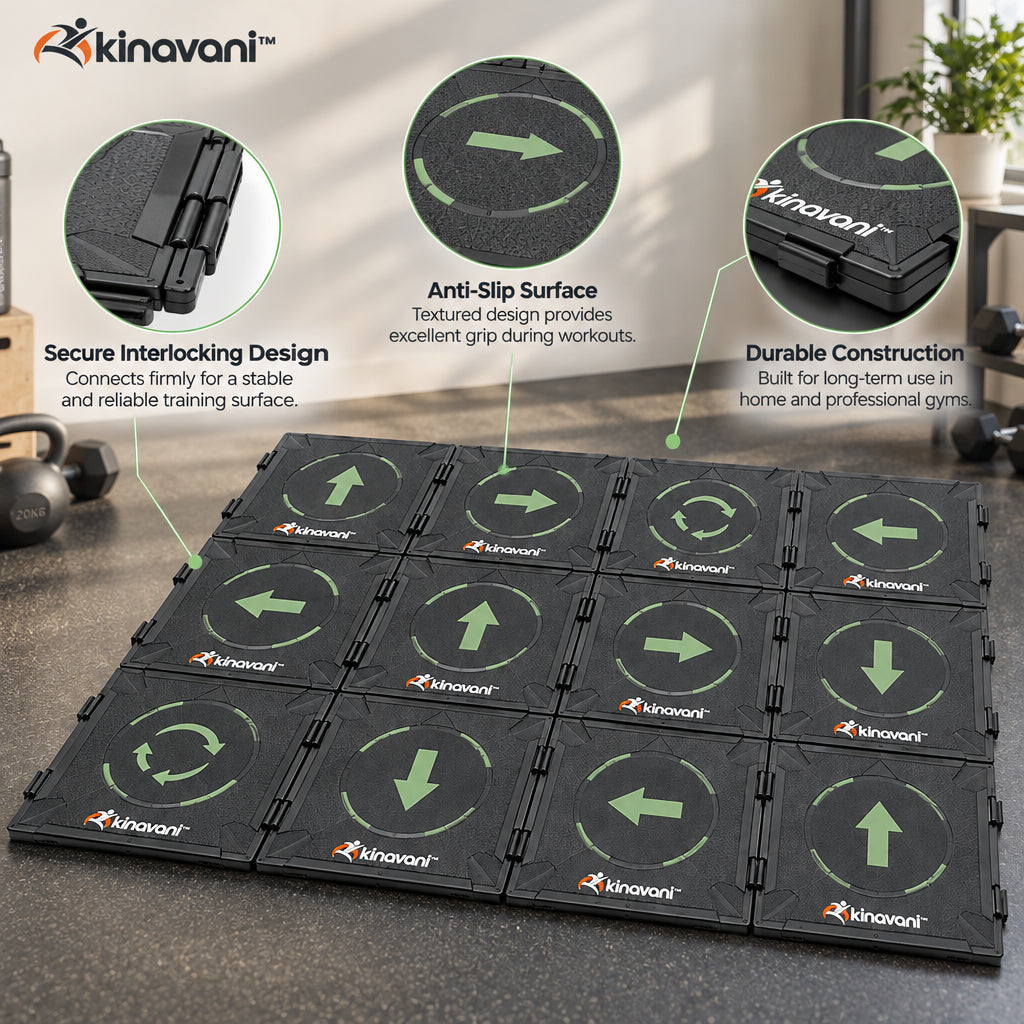
Connect individual tiles to create the approved layout for your available space. The modular format keeps the route deliberate and allows you to change the pattern between sessions.
Arrow and rotation symbols provide visible movement references. Plan your footwork around a sequence you understand before trying to follow the pattern at a faster pace.
The patterned tile face is designed to provide traction for controlled drills. Suitable shoes, a clean floor and dry tile surfaces remain important parts of the setup.
02 / Thoughtful details
Connection points bring the tiles into a shared training area. Check each joint after assembly and again if a tile lifts or moves during a drill.
Separate the modules and stack them when the workout is finished. The compact arrangement keeps the next setup organized without leaving a permanent training route across the room.
Use the grid for approved footwork, directional movement and coordination drills. Adapt the sequence to your ability and the clearance around the assembled layout.
03 / The design

AgilityFlow gives the route a physical layout rather than leaving every foot placement to memory. The visible symbols help you plan direction changes, while the connected modules keep the chosen arrangement together for the session.
04 / Your routine
Choose a level, dry area with enough room for the assembled grid and the movements around it.
Join the modules using the approved connection method. Check that every tile sits flat and each joint is secure.
Select a simple directional pattern and practice it slowly before making the session more demanding.
Stop and step off before changing the arrangement. Separate and stack the clean, dry modules after use.
05 / Size & materials

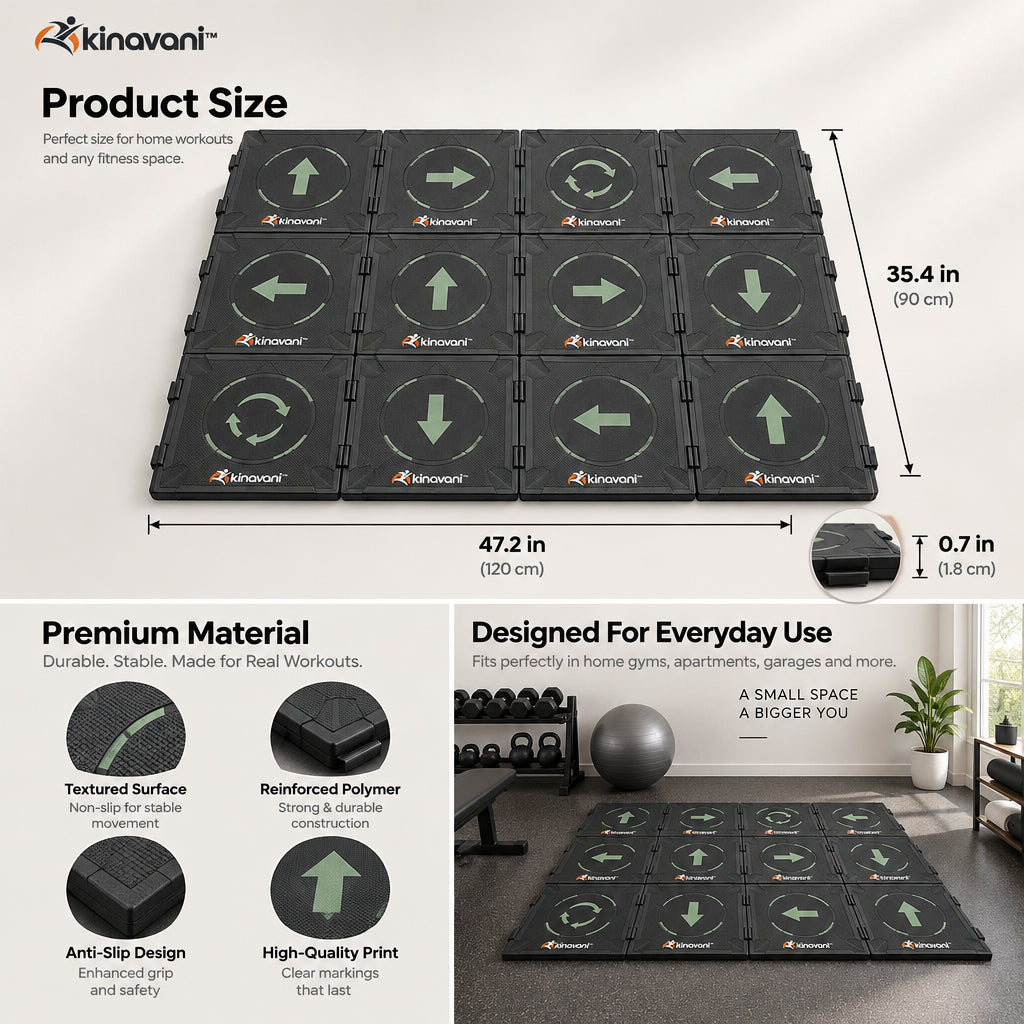
Dimensions are approximate. Allow additional clearance for adjustment, access and the full movement of the intended exercise.
06 / Everyday placement
Give planned direction changes a clear visual arrangement.
Set up a defined movement block alongside the rest of your routine.
Separate and stack the modules when the space is needed for something else.
07 / Good to know
The pictured dimensions describe the 4-by-3 arrangement. Other approved configurations can change the overall footprint; check the supplied connection guidance before rearranging.
It is presented as a modular training grid. Do not assume it provides the cushioning, impact absorption or floor protection of a separately rated exercise mat.
Only use it in conditions permitted by the supplied instructions. A suitable surface must be level, dry and clear of grit; store the tiles indoors after use.
Stop the drill, step off and check the floor contact and all connections. Resume only after the layout sits flat and remains secure.